Having wanted to throw my camera off a cliff struggled with the technical aspect of photography, especially, I have now come to really enjoy tolerate pushing my camera to the limit. I have learned firsthand if you can’t take a good photo with the camera you already have, you won’t be able to take a good photo with a better camera.

I still struggle, but I am learning that patience is truly a virtue when it comes to not only setting up a shot, but also editing in post. I have mentioned before some of the things Luis and I have been working on, so I thought I’d go into a little more detail in case it helps someone else like it has me. I am using a basic DSLR — Canon Rebel T3 with the stock 18-55mm lens.
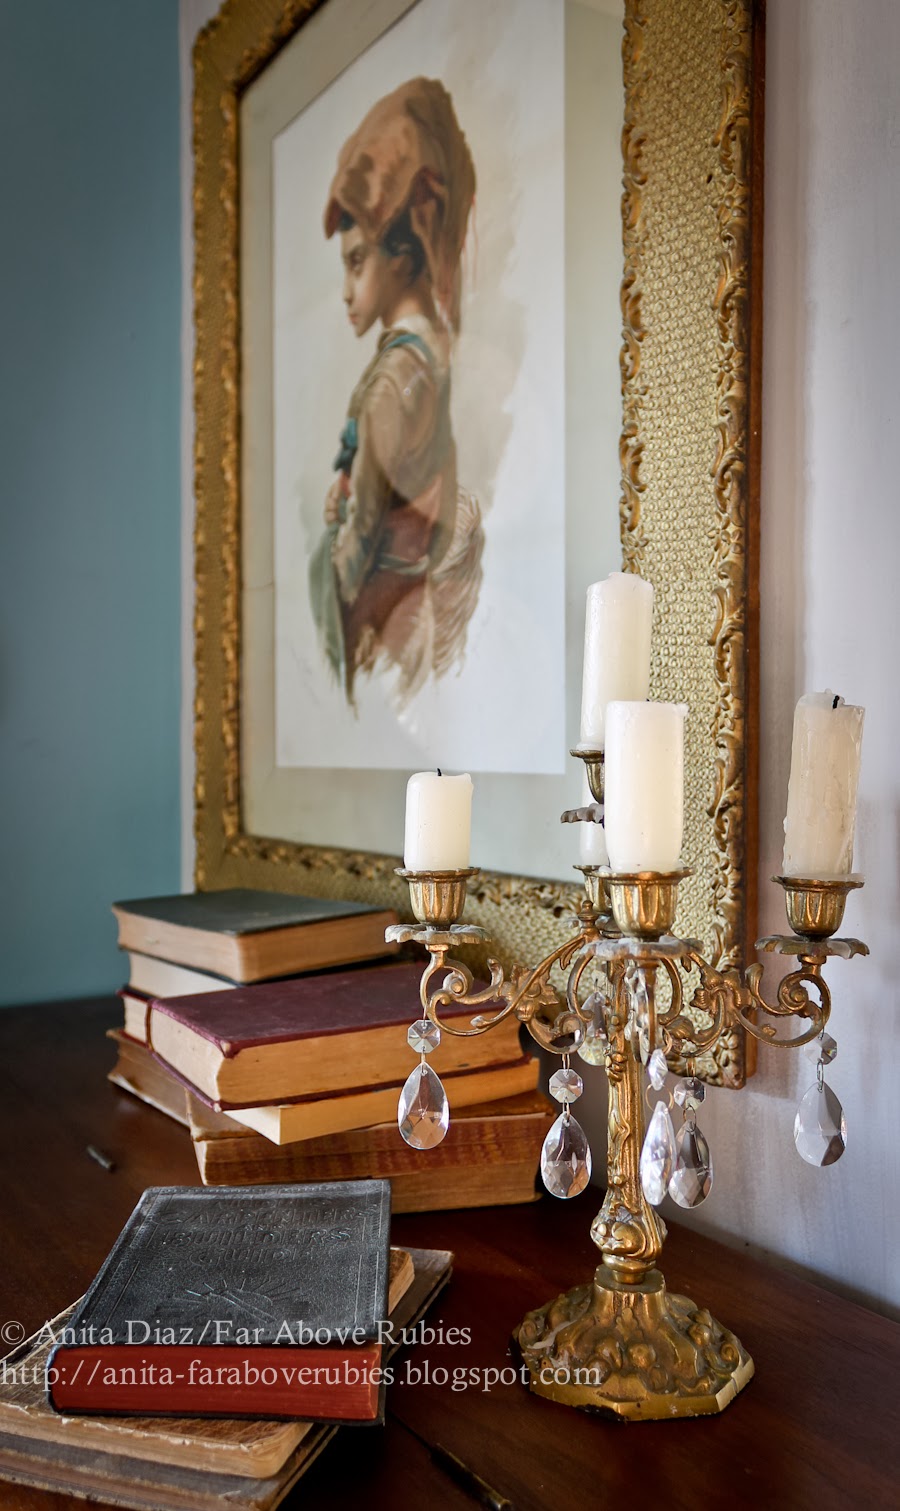
Here is a photo right out of the camera shot at 18mm, 1/4 sec, aperture at f/3.5, ISO 100, RAW.

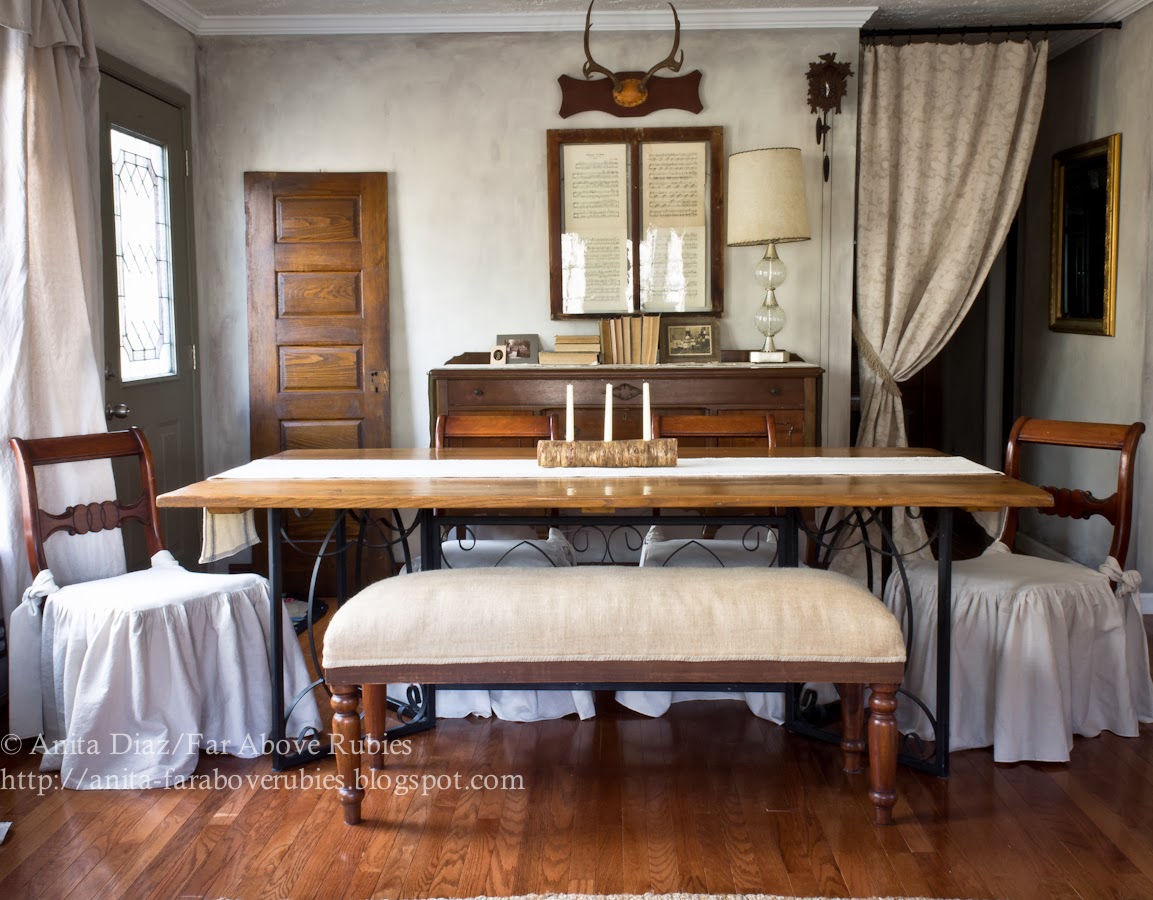
Here is the same photo edited in Adobe Lightroom 3.6. What a difference!

The reason I could take that photo so far, is a result of how I shot it to begin with.
I always, always, always use a tripod now and the 2 or 10-second timer on the camera. I LOVE my Manfrotto Compact tripod. I can rotate the grip-style head into any position, which makes getting the shot I want easier. Did I mention I love it??

I always shoot in manual mode and RAW format, not jpeg, so I have more control in post editing. For close up shots, I shoot with the aperture set at f/3.5, so I can get a sharp focal point and blurred background, with ISO at 100 to keep down noise (the grainy look). That’s all I can do with the lens I have, but you can go lower depending on what kind of lens you have. We also have a Nikon D5100 and a 50mm “prime” lens that can go to f/1.8, for even better closeups, which is what I used for the photo below.

On wider angle shots, I shoot at f/22, ISO 100, so the photo has depth, and everything is sharp with nothing blurred.

I never, ever for any reason over expose my photos, so I keep the exposure compensation meter right in the middle. I have learned if the photo is over exposed, or the light is blown out, you can’t get any detail back in post, but you can always lighten and still keep detail if you shot RAW and with a low ISO.

I like to learn one step at a time, then add to that, and as I mentioned, lots of patience is required. Luis has been wonderful helping me put the technical terms into my language — one thing at a time, and it is a constant learning process that never, ever ends.
There is so much more to learn, it can be overwhelming, but here are the ten things that have really helped me as a non-photographer take better photos.
Ten tips for better photos

1. Educate your eye.
I analyze my favorite photographers’ work and see what angles they get, what kind of mood, light vs. dark, etc. We also attend workshops and follow several photographers on social media and learn from their tips about settings, editing, etc.
2. Learn all the functions on your camera
3. Use a tripod
4. Never use the built-in flash
5. Shoot in Manual mode and use the self-timer
6. Shoot photos in RAW format
7. Shoot close ups at f/3.5, ISO 100
(or lower if your lens can go lower — so your subject is sharp but your background is blurred)
8. Shoot wider angle shots at f/22, ISO 100
(to get depth and everything sharp)
9. Never over expose while shooting
Keep your exposure compensation meter at zero. You can lighten up in post editing.
10. Use good editing software
I use Adobe Lightroom 3.6, Luis uses Lightroom 5 and OnOne Perfect Photo Suite. We have Adobe Photoshop, but really don’t use it for editing photos. I would upgrade to LR5, but my older imac is only 32 bit and cannot support LR5.
All of these tips have helped me take my photos from this:

to this:

I hope you can see the difference–I know I can!
Again,
these are just some basic things that have made a huge difference in my photography… and all with a basic DSLR camera and lens. I could, and hope to push my camera further by adding soft boxes for lighting, maybe a speedlight, and a “prime” lens, which is next on my “to buy” list. And I’ll be honest — a Canon 5D Mark II is on my “want” list:-) In the meantime, I’ll be working on getting all I can from what I have.
There are some other techniques we have learned to build on these basic things, and I plan to take one at a time in more posts later.
Hopefully, these tips will help you too:-)

I’ll be joining:
Inspire Me Tuesday


Your photos are always gorgeous, Anita! These are great tips you've offered.
Mary Alice
Blessings to you and warm wishes. Tis so cold here…..wishing for Spring.
You do take great pics and when they are of the subjects you love…it will turn out just right.
d
Well, most of this is Greek to me, I know I should take some photography classes. I don't even know what alot of this means. I also have to say that the table setting in the FIRST picture was one of my favorites of yours. We are getting MORE snow right now. Hope you are warming up.
I have the same camera, but I don't use the kit lens. I always use a tripod, too and usually the ISO is o 100. I have not shot in raw though. hmmmm, may need to try that.
Thank you so much for this, Anita! I really appreciate it – and that it is so straight forward too. I do not know much about shooting in RAW – I have read a lot about it though lately. Does this affect how you take the picture or is it more to do with the editing? Are the two programs you have mentioned with editing tricky to navigate?
Thanks again. Always love looking at your blog. Your kitchen is a thing of beauty!
Your photos always look amazing Anita…LOVE LOVE that last shot!!
Thank you Anita!
I took notes.
I have a Canon T3i and I use a tripod but the settings on manual still give me trouble.
Plus, I have lots of trees in my yard and my interiors can be dim.
Laura
WSP
Thank you for the tips. I am still in my infancy for learning how to use my camera and every little tip helps. I am going to refer to this post next time I have something to shoot. Your pictures are beautiful!
Thanks for the encouragement to take little steps.
Anita your photography has greatly improved and I love that crisp beautiful apple on the table setting. Beautiful!!!! Truly!
gorgeous photos! thanks so much for the tips!
Thank you for sharing this information. I just took my first photography workshop. Practicing is frustrating, I am finding. Good point about keeping iso low for less noise.
I can use every tip I can get with photography so thanks. What I loved yet more was the subject of your photos. I am a huge fan of sheet music so you had me, as they say, at hello.
Ha! I have been telling my friend how frustrated I am with my new camera(same as yours) because I am having a hard time with action shots, but remember your stream shots any tips for moving objects that are different than above? These are great tips and I surely appreciate them and will practice what you suggest, thank so much Anita!!
Use "Sports Mode" Erin, I have used it at basketball games where my daughter is a cheerleader and got nice shots. Luis also uses that mode on his Nikon with a 55-200mm lens and gets great shots close up too. That's the easiest thing.
I will admit to never reading the manual on anything. I can't sit still that long! I just sort of dive in and let the chips fall where they may! My husband has suggested we both take a course on photography, and I'm slowly warming up to it. Maybe one of those community classes like what I teach for tablescaping. I have a nice camera and do pretty well, but I would love to learn a whole lot more. I would also love to have a tripod that would help out an awful lot. I have a pretty steady hand, but nothing beats a tripod! I have absolutely no clue what 6 – 9 of your tips even mean, but I'm sure I'll find out if I ever take that class! 🙂
Thanks for the tips! Stay warm!
Great tips Anita! Will have to pin this post for later reference 🙂
Fabulous post, thanks so much for these tips. Your images are stunning.
I enjoyed your post. I keep saying I want to learn more about my camera and how to use it. I don't really understand f stops and I think always scares me off when trying to read more about taking good photos. I am with Alycia's husband above- and think taking a class may help, but your post is interesting and gives me many great suggestions on things to try! Thanks for sharing your knowledge!
Thanks so much for your post!!! I'm learning to use my camera and am always looking for tips (that I can understand)! You used some technical terms with comments that made them clear. I am going to back to this blog over and over! You photos are great! Thanks again for sharing!!
Anita….I know I commented earlier when your post first hit my inbox…but I wanted to let you know that I appreciate it that you chose to pop by over and share these great tips and encouragements at Project Inspire{d} – AnExtraordinaryDay.net.
I have so much to learn. Thank you for all these great tips. I have never shot in RAW – I am not ready for that. And sometimes it just seems my camera wants to do what it wants – I know its me doing something wrong. I need to get that manual back out but sometimes it just seems to confuse me more. I have a Nikon D5200 and I need to learn how to use it properly. Thanks for all the great advice. I have a tripod but I get frustrated trying to get the shot where I want it – so I take the camera back off and do it myself.
Patty at Home and Lifestyle Design
always love hearing photo techniques, I definitely need a better tripod!
Hi Anita! OMGosh!! I see there is a LOT I have to learn because I could not understand any of that!! LOL Following you on facebook as well-that is where I spend most of my time.
Wow. So many of these tips are like Latin to me since I just have a humble little point and shoot camera. But I would sooooo love to learn more about f stops and lighting and bokeh…. (sigh). Thank you for all of the advice – written in a language that I could actually understand, Anita! lol
xoxo laurie
Thanks for review, it was excellent and very informative.
thank you 🙂